How to Group Indoor Plants: Best Ways to Arrange Houseplants for Style, Light, and Healthy Growth
Introduction
Do your houseplants feel more scattered than styled?
You buy one you love, then another, and somehow the room still looks a little random — plants sitting wherever there was space, not quite fitting together, not quite looking like the “plant corner” you had in mind.
You are not doing anything wrong. Most people build their plant collection piece by piece, without a real plan for how everything will sit together. The result is usually a bunch of plants that are technically fine, but do not feel cohesive.
Here is the thing: grouping indoor plants well is less about decorating talent and more about understanding a few simple principles. Light first, then room conditions, then shape and scale — and the styling details fall into place after that.
This guide walks through exactly how to do it, step by step, including where to place groups in different rooms, which mistakes quietly ruin otherwise good arrangements, and how to make the whole thing look finished without spending a lot.
Quick summary: A good plant grouping comes down to five things — matching light needs, choosing the right room, varying height and texture, leaving breathing room, and using small styling details to tie it all together.
If any of your rooms feel too dim for the plant corner you want, this guide pairs naturally with 8 Smart Ways to Bring More Natural Light Into a Dark Room (Without Renovation).
Steps
Step 1 – Start With Light, Not Looks
Before you move a single pot, ask yourself one question: Do these plants actually want to live in the same kind of light?
This is where most plant groupings quietly go wrong. Someone builds a beautiful arrangement based on how the plants look together, then slowly watches one or two of them decline — yellowing leaves, leggy growth, soil that never quite dries right.
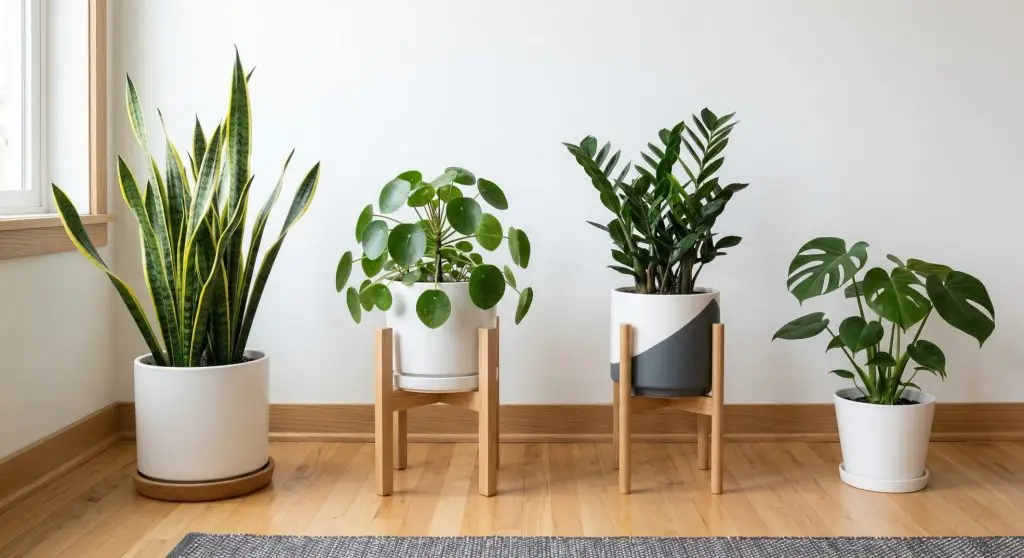
Bright indirect light suits monstera, pothos, rubber plants, and philodendrons beautifully. Shadier spots work better for snake plants and ZZ plants. Not every plant in your collection belongs in the same corner, and that is completely fine. Grouping plants with similar light needs makes the whole arrangement more sustainable — you stop shuffling things around every few weeks trying to figure out who is struggling and why.
Tip: Watch how the light in a room shifts throughout the day before you decide where a grouping goes. The difference between early morning and afternoon light in the same window can matter more than you think.
Step 2 – Let the Room Tell You What It Needs
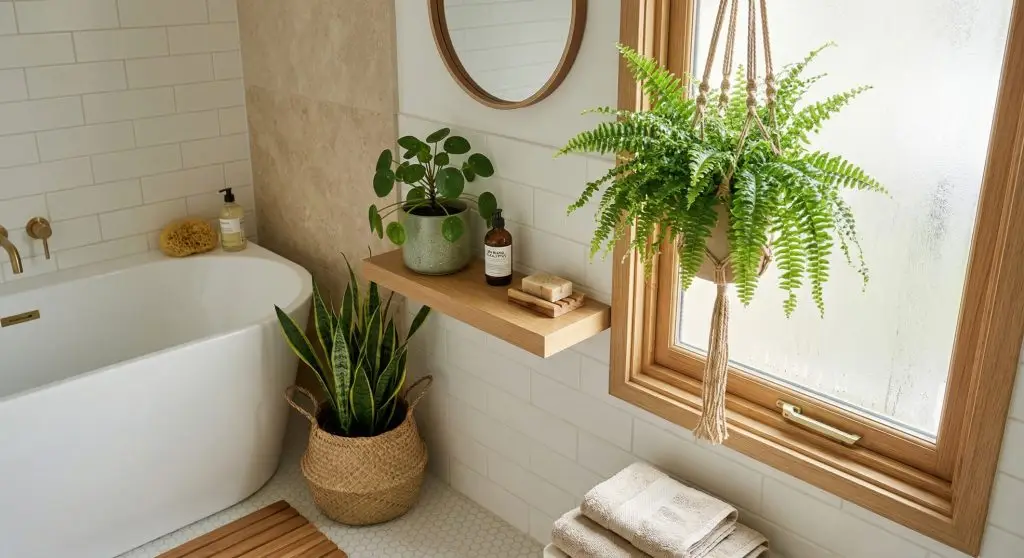
Not every room suits the same kind of plant grouping, and that is actually useful information.
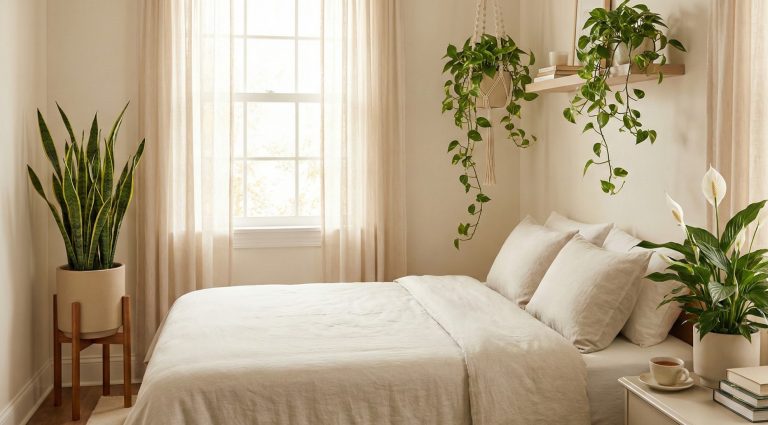
Bathrooms, if they get enough natural light, are one of the best spots for humidity-loving plants — ferns, calatheas, small pothos. You do not need much space; even a corner shelf or the edge of a vanity works. Living rooms give you the most freedom because they usually have corners, shelves, side tables, and larger windows all in one place. A bedroom feels best with a smaller, quieter cluster — two or three plants that feel restful rather than decorative. Kitchens are perfect for compact plants on a window ledge or open shelf.
The key idea here is that the room’s conditions should shape the size of your grouping, not just what plants you put in it. A smaller healthy cluster almost always looks better than a large display planted in the wrong place.
Tip: If a room feels like it “needs plants” but the light is poor, start with one low-light plant in a really good pot before committing to a full arrangement.
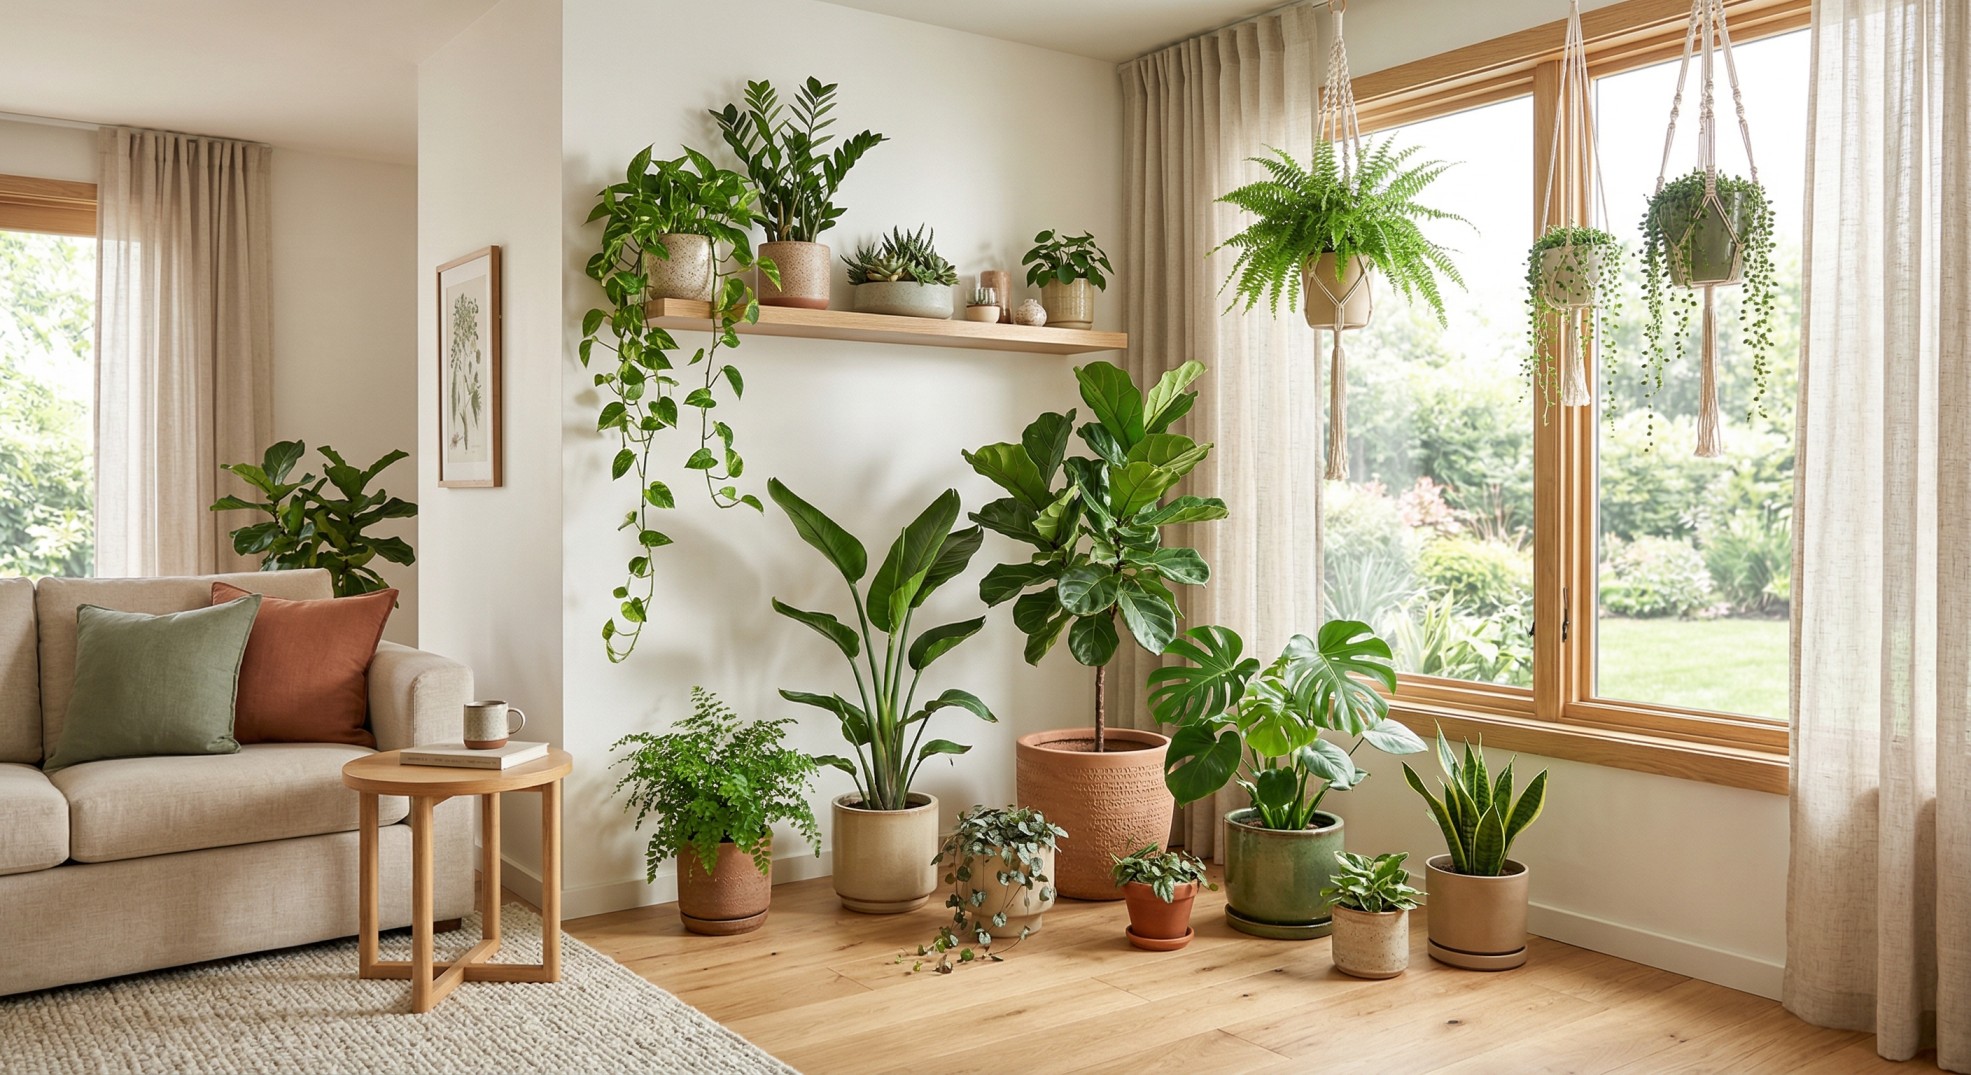
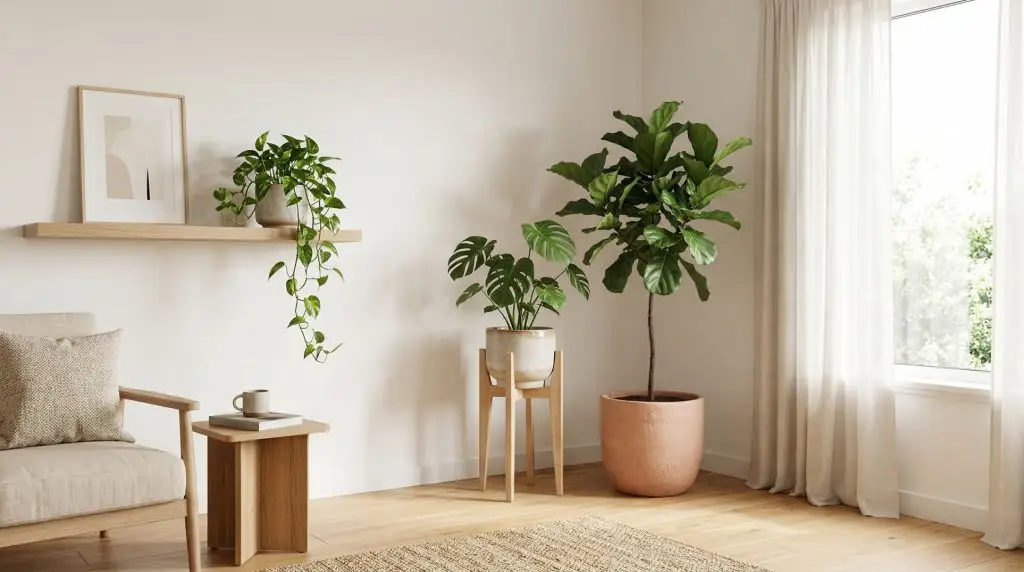
Step 3 – Layer by Height, Shape, and Texture
A beautiful plant grouping looks layered. A flat one — every plant the same height, the same shape — looks like a shelf at a garden center.
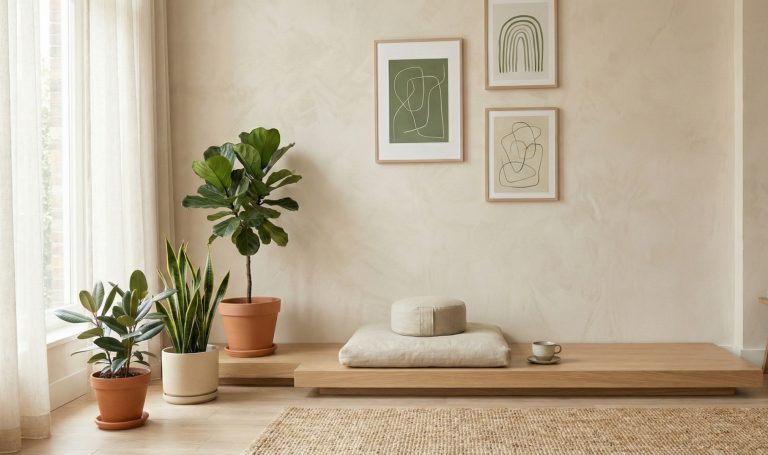
The simplest approach is this: start with one anchor plant. This is your tallest or most eye-catching piece — the one that draws the eye first. Then add one or two medium plants around it to fill the mid-level, and finish with a smaller or trailing plant at the front or edge to soften the whole thing. That combination of tall, medium, and low creates a sense of movement, like the arrangement grew naturally rather than being placed.
You can also play with contrasting textures — glossy broad leaves next to something feathery or strappy, a structured plant paired with a more relaxed one. The variety is what makes the grouping feel designed.
Tip: Odd numbers almost always look more natural than even ones. Three, five, or seven plants tend to feel more effortless than two or four.
Step 4 – Find the Best Spots Before You Commit
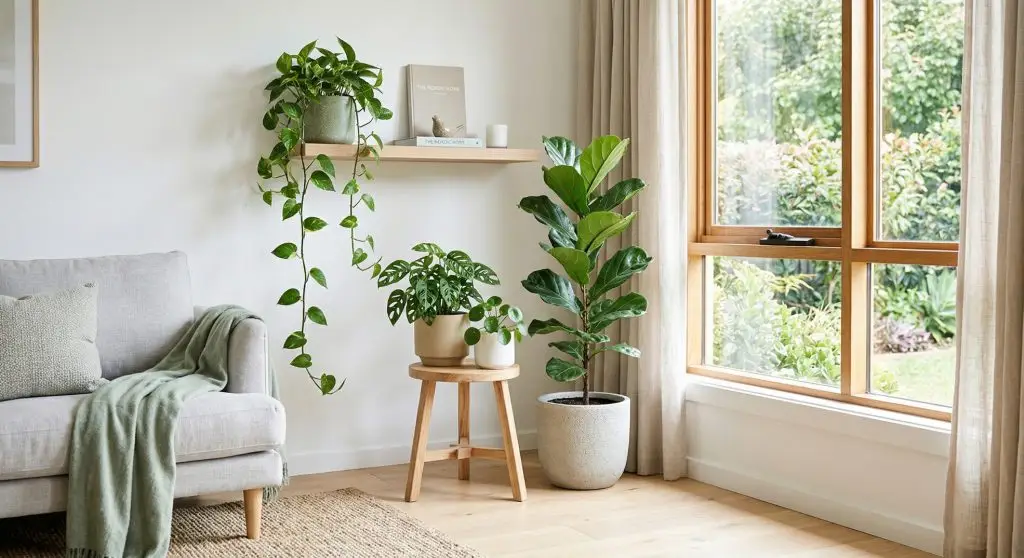
Some of the best places for indoor plant groupings are spots that do not immediately look like “plant spots” — the unused corner beside the sofa, the empty stretch of wall near a window, the console table in an entryway that always looks a little bare.
Sunny living room corners can handle larger layered groupings with floor plants and a stand or two. Window-adjacent shelves are ideal for smaller pots and one trailing plant. Entryways usually look best with one larger plant as the focal point and just one or two smaller companions alongside it. In a bedroom, a dresser corner or bench end often works better than a busy floor cluster.
What you want to avoid: plants placed in dead corners where light never reaches, groupings that block a natural walkway, or arrangements competing with already-busy décor. Plant styling should make a room feel calmer. If it makes the room feel more cluttered, something is off.
For rooms that feel too dim for the display you want: 8 Smart Ways to Bring More Natural Light Into a Dark Room (Without Renovation)
Tip: Before building a full grouping, put one plant in the spot for a few days. See how it looks at different times of day before you bring in everything else.
Step 5 – Give Your Plants Room to Breathe
There is a version of this where you get excited, keep adding “just one more,” and then step back and realize the beautiful corner has quietly become a crowded mess. It happens fast.
Plants need airflow between them. Pots need enough space so you can water properly without knocking things over. Each plant should still be visible as its own shape — not hidden behind the one in front of it or pressed up against a wall.
Overcrowding also makes care harder in practical ways: you miss early signs of pests, leaves get damaged, water collects in places it should not. A grouping that looks full but breathable is the goal. Not sparse, but not squeezed.
Tip: If the arrangement feels too busy, try removing just one plant before changing anything else. That single edit is often all it needs.
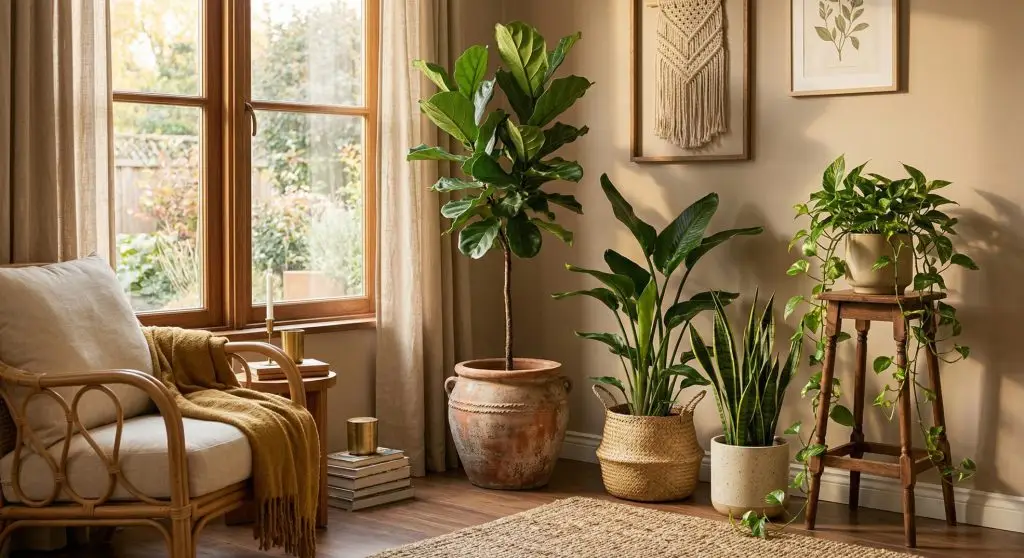
Step 6 – Add the Styling Details That Make It Feel Finished
Once the plants are in the right positions, the finishing layer is what makes a grouping look like something from a real home rather than a garden center.
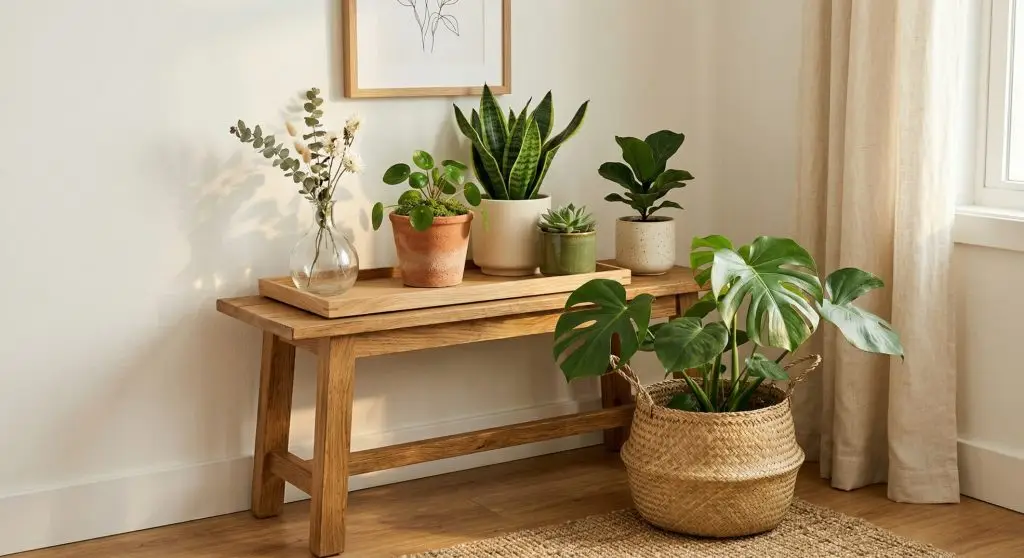
Plant stands create height variation without needing more plants. Trays or saucers visually anchor smaller pots and stop them from looking like they wandered in from another room. Woven baskets soften large floor plants and add texture. Coordinated planters — not necessarily matching, but sharing a color family or material — give the whole display a sense of intention.
You do not need everything to match exactly. A mix of matte white, terracotta, and natural woven materials often looks more interesting than a set of identical pots. The goal is cohesion, not perfection. Pick one or two repeating finishes and let those tie things together.
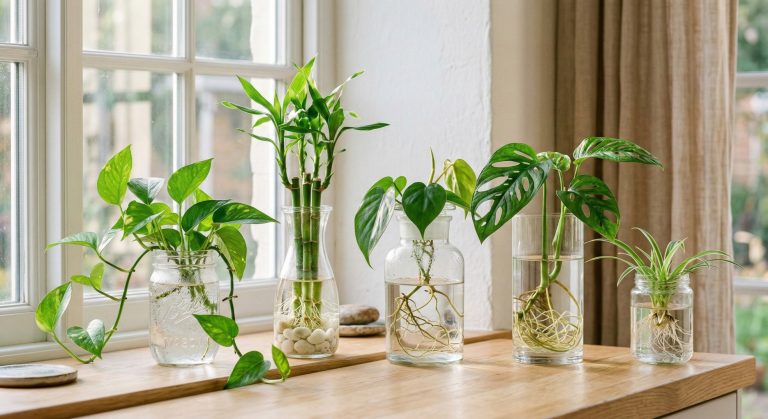
One detail worth trying: add a glass vase with a water-grown plant somewhere in the grouping. The transparency and simplicity of it creates a beautiful contrast next to leafy soil plants and lightens the whole arrangement visually. See 10 Beautiful Indoor Plants in Water for Glass Vases + Jars for ideas.
Tip: Repeating one material — terracotta, white ceramic, woven basket — across the group is the easiest way to make the display look curated without overcomplicating it.
Tools and Supplies Worth Having
You do not need much to style a good plant grouping, but a few things make a real difference:
- Plant stands in different heights
- Waterproof saucers or trays
- A mix of coordinating pots (not all identical)
- Woven baskets for floor plants
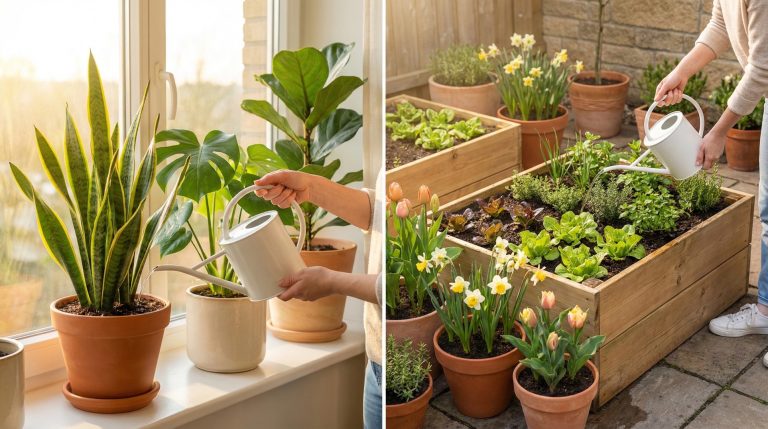
- A watering can with a narrow spout
- A moisture meter if you tend to overwater
- Small risers or stools for height variation
- A soft cloth for wiping down leaves
Most of these are easy to find on Amazon, at garden centers, or in home décor stores.
Pro Tips and Honest Mistakes
Styling first, planning second. This is the one that catches most people. A grouping that looks beautiful in photos but puts a sun-loving plant in a dark corner will not stay beautiful for long.
Filling every empty corner. Not every space needs plants. A room with two or three well-placed groupings will always feel more intentional than one where every corner has something shoved into it.
Too many heavy planters in one area. If a grouping feels visually dense, adding a glass vase or a lighter-colored pot breaks it up without removing anything.
The best plant groupings share one focal point, a few supporting plants, and enough space for each one to have its own moment.
FAQ
How many indoor plants should I group together?
Three to five is a solid starting point for most homes. It feels full and intentional without becoming hard to manage — or hard to water without knocking something over.
Is it actually good to group indoor plants together?
Yes, especially when they have similar light and care needs. Beyond the styling benefit, grouped plants can create a slightly more humid microclimate around themselves, which some tropical varieties genuinely appreciate.
Where is the best place to put grouped indoor plants?
Bright indirect light works for most houseplants. Living room corners near windows, window-adjacent shelves, and well-lit bedroom corners are usually the easiest spots to start with.
Should all the pots match?
No — and perfectly matching pots can actually look a little flat. Aim for a coordinated palette or repeated material rather than identical pots. Variation within a theme reads as curated.
Can I mix soil plants and water plants in one grouping?
Absolutely. A glass vase with a water-grown plant adds a lighter, more transparent element to the arrangement and makes the whole thing feel less heavy.
Summary
Grouping indoor plants well is less about decorating instincts and more about getting a few basics right: match the light, fit the room, vary the height and texture, leave breathing room, and finish with small details that make the whole thing feel cohesive. Do those five things and most plant corners will look genuinely good — not because everything is perfect, but because everything makes sense.
Pick one plant corner this week and try rearranging just three plants using the height + texture rule from Step 3. It is the smallest change with the biggest visual payoff — and it takes about ten minutes.